Fiddling Around with Fighters
Fighters are an important part of Full Thrust, supplying vital extra protection to one's own fleet or hunting out weak points in one's opponents.
Photos in the Full Thrust rules depict fighter models mounted on some form of flat base, while in More Thrust 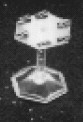 fighters were either mounted as a flight on a piece of hexagonal plastic (pg 11), or mounted as singletons (pg 12) with a dice on the base to indicate the number of craft in the flight.
Neither of these options appealed to me, and for a little while I was at a loss as to what to do with all these fighters I'd  bought. Then, reading, or rather mis-reading pg 44 of the Full Thrust rules gave me the solution.
Jon Tuffley suggests mounting the correct number of fighters for a flight on pieces of wire that "plug in" to a pre-drilled base. He indicates that the wire mounted fighters are removeable to indicate casualties. I missed that last bit :)
Firstly, I got hold of a packet of Games Workshop Flying Stands. I kept the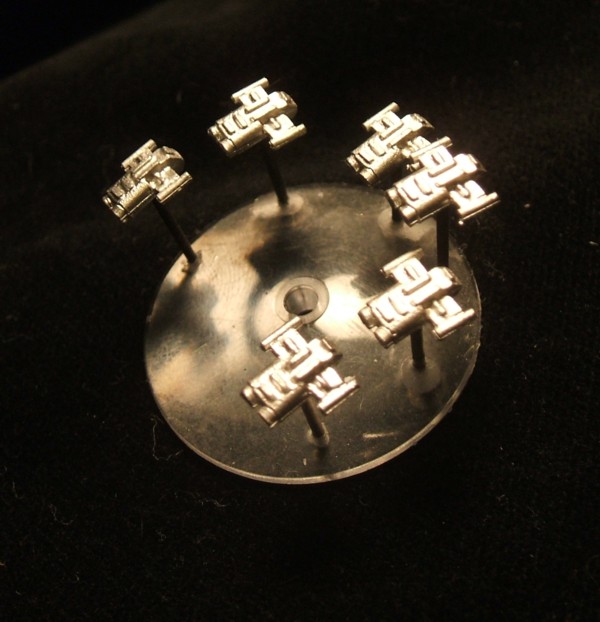 pegs for later (as they're useful for other things) as it was the clear plastic bases I was after.
I then proceeded to drill six 1mm holes, approximately 10mm apart, around three-quarters of the rim of the base. From my wire stock, I cut up six 7mm - 12mm pieces of high tensile wire to mount the fighters on. The first few times I made up fighter flights, I glued the wire to the fighters and then 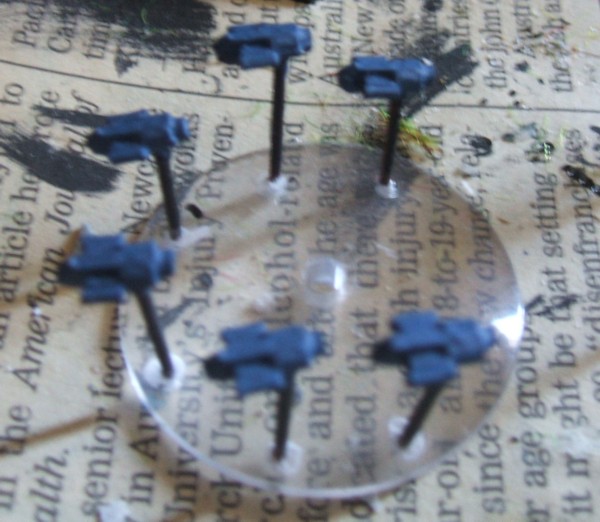 undercoated and painted them, and their flight wires, before afixing them to the pre-drilled base. I had a polystyrene block I used as a tempory mount, poking the wire into the polystyrene between coats of paint. This proved particularly fiddly, especially with flight wires at the shorter end of the range, and several fighters were knocked off their flight wires as I handled them.
Then I tried the assembly process the other way round. First, 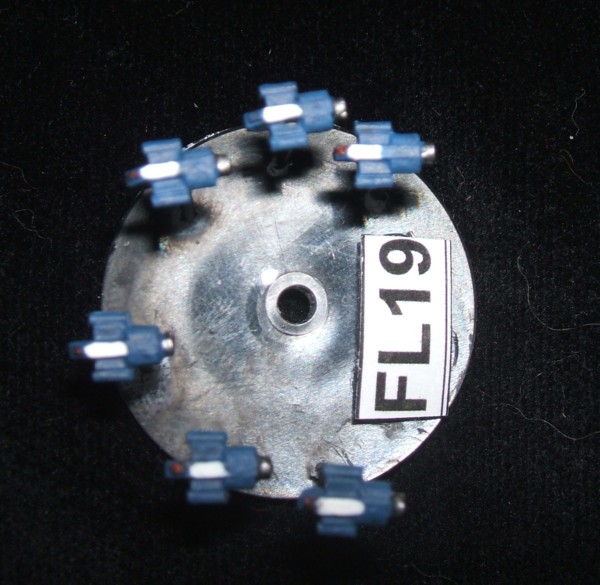 the flight wires were glued into their pre-drilled holes on the base. Then, the fighters were glued to the flight wires. After the glue was allowed to dry, I applied the "wiggle test" to each fighter. If I could knock the fighter off the wire, I would clean and re-drill the mounting point on the fighter, and re-glue it to the flight wire. Usually, I would have to do this at least once to about half of the fighters in any one flight. It was very rare for a fighter to fall off a second time.
Once all the fighters were successfully mounted, I undercoated them and their flight wires (being careful not to dribble paint on the base) 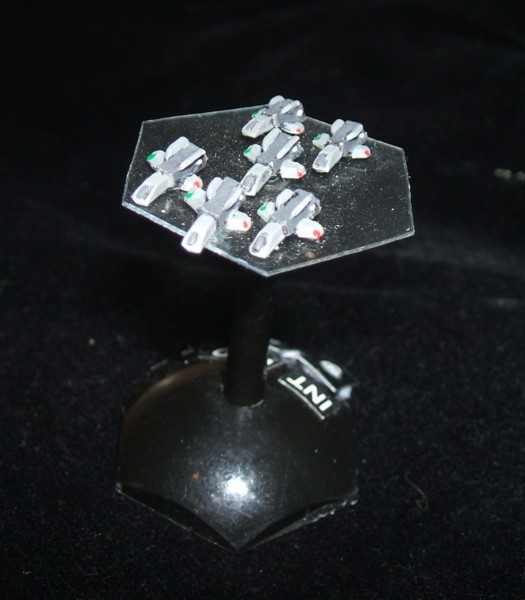 and then painted them as normal. When all the painting was completed, a Flight identification number was glued to the flight base and the fighter flight was ready for action.
A flight roster was added to the carrier SSD for each fighter flight where the strength of the flight, plus the number of Combat Endurance Factors (CEFs), was noted for use in games.
My friend Chris followed the fighter flight basing suggested in More Thrust with his NSL fleet. He even mounted missile salvoes in a similar style.
In the end, of course, it's the effect that's most pleasing to you, the modeller, that really matters.